

How To Use Cricut To Make Labels
Learn how to make labels using a Cricut Machine with a step by step photo tutorial!
This is a sponsored conversation written by me on behalf of Cricut. The opinions and text are all mine.
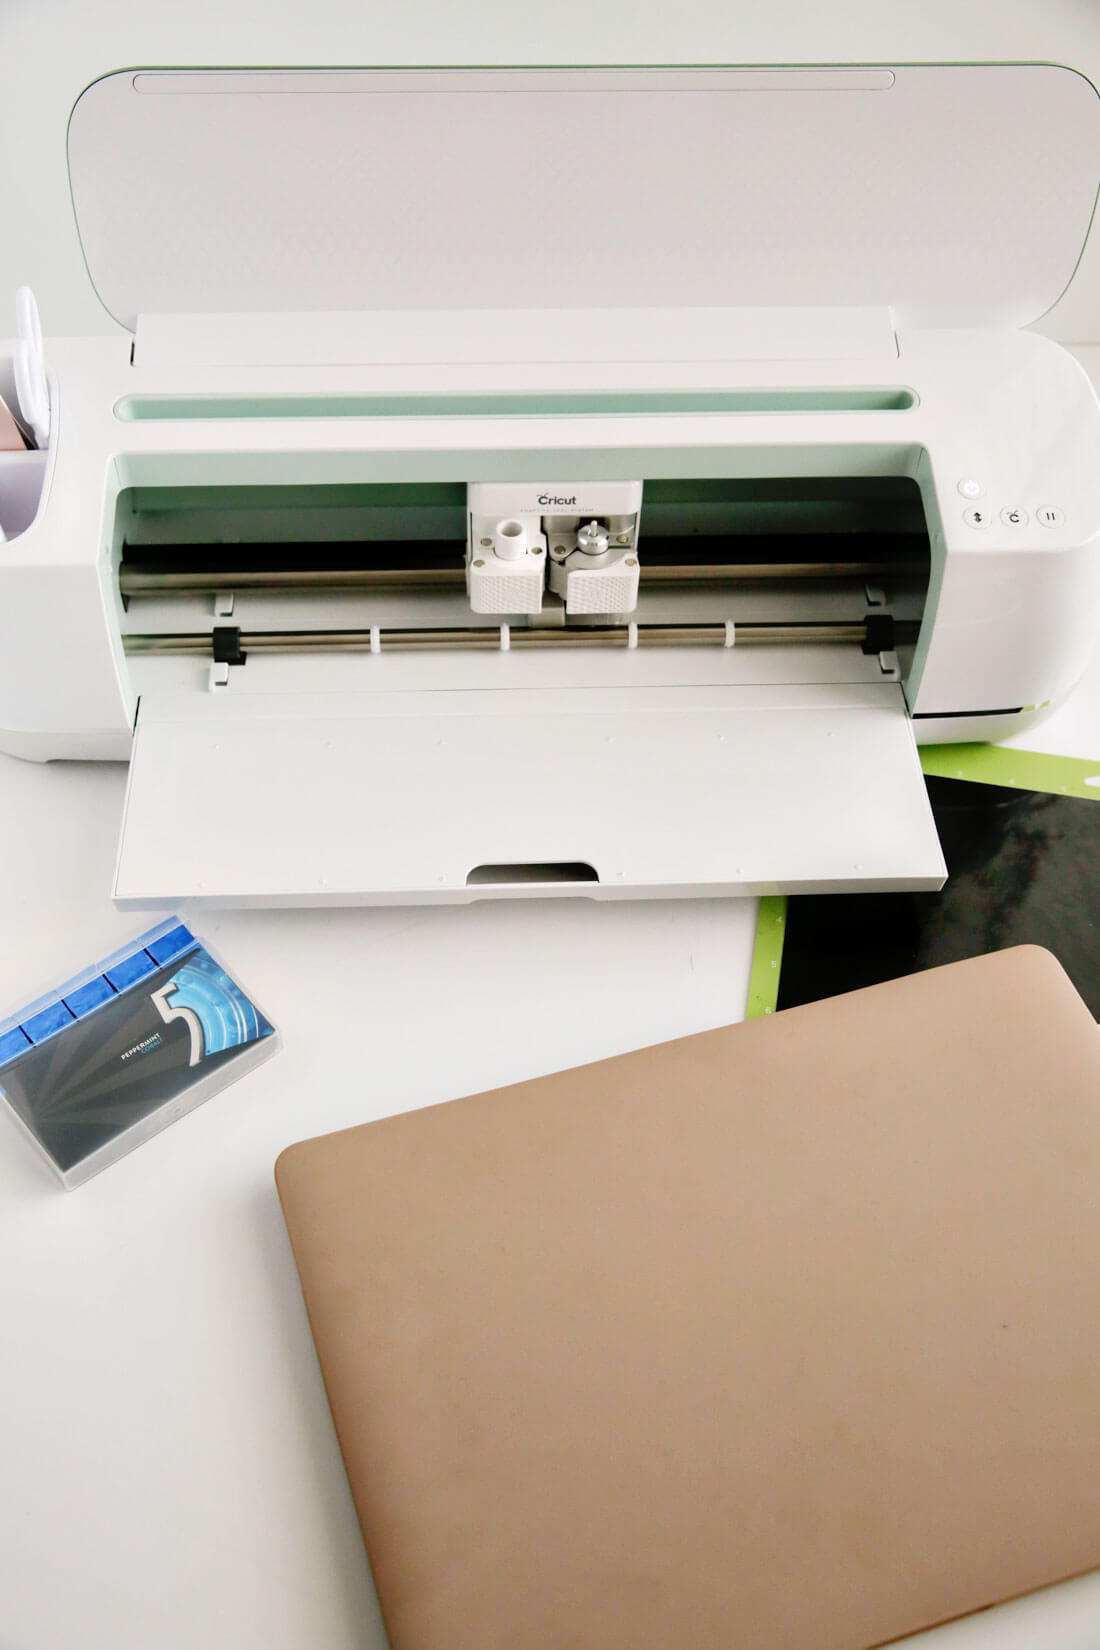
Cricut Machine
For organizing projects, parties, school assignments and more, having a Cricut machine has turned so so things into amazing ideas! Once you get going, it's really hard to stop from creating all the things. You can't really go wrong using any Cricut cutter, but if you're unsure of which machine you should get, check out my Cricut Maker vs. Explore Air comparison.
Supplies you need
Something like this is the *perfect* beginner project with your Cricut machine. Lots of people only use their cutter for projects like this. There are so many things it can do, but if you'd like to keep to something like this, go for it!
To make this project, here's what you need:
- Computer
- Cricut Machine – I am LOVING my new Cricut Maker
- Cricut mat
- Vinyl
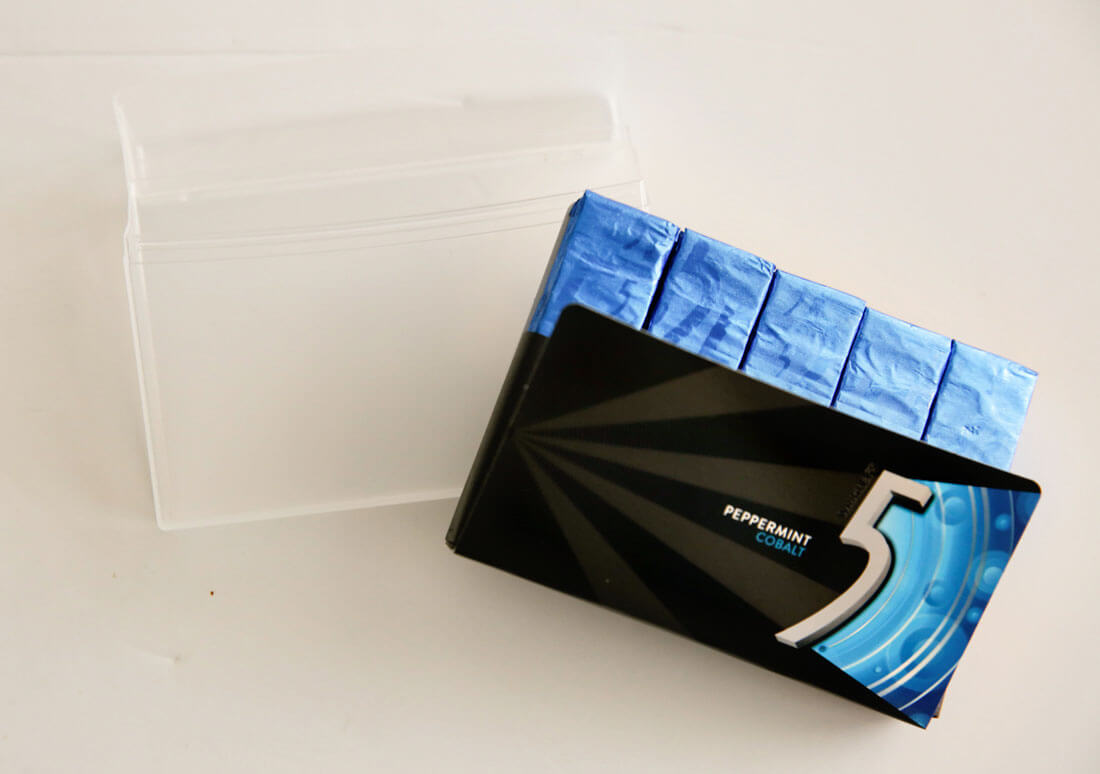
- Gum container
- Optional – Cricut tools
- Cricut Design Space to create your own file or download the SVG below!
Note: I used a Wrigley gum pack but that's not necessary. There are lots of options out there for gum containers similar to this one. It just needs to be a hard case and use the right dimensions for the label.
Cricut Vinyl
If you've followed me on Instagram, you've seen me talk about vinyl for awhile. I've warned several times not to get the knock off stuff. It doesn't weed well, doesn't stick great and hard to transfer. Go for the good stuff – grab some Cricut Vinyl.

CREATE THE DESIGN
Follow my tutorial for Cricut Design Space to create any kind of label or design you want. I have included the SVG file for this design but play around on Design Space to get more comfortable with it. Once you've cut out the design you need to weed it.
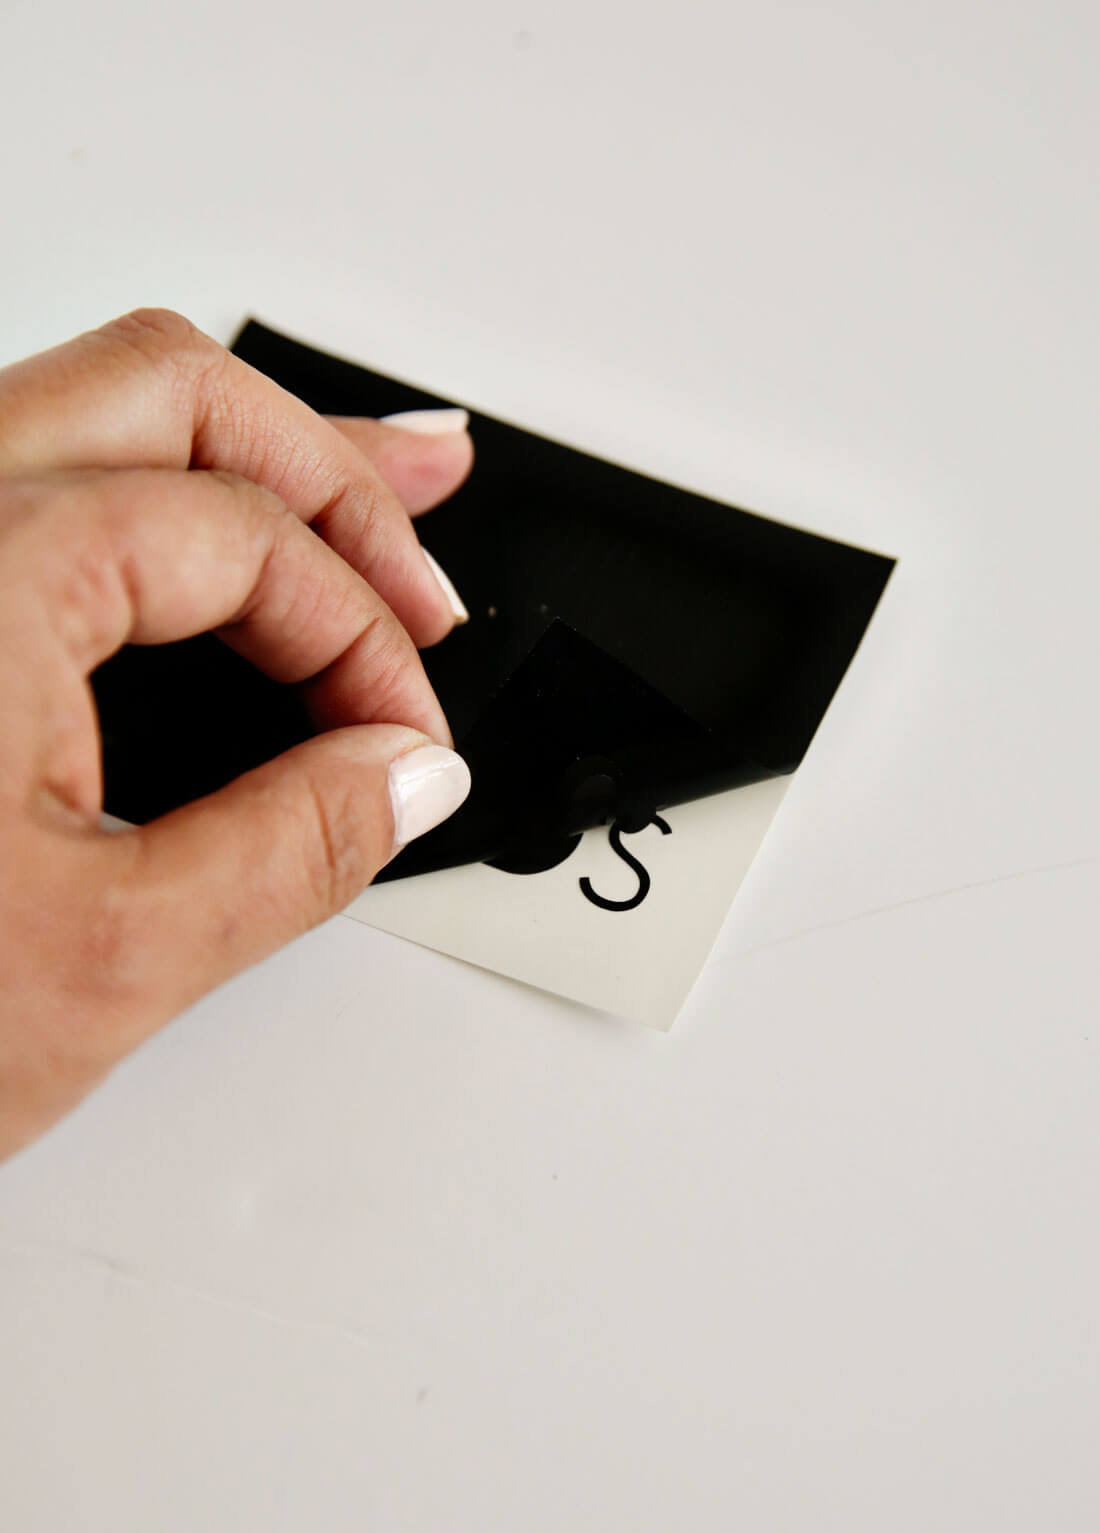
WEED THE DESIGN
What does weeding vinyl mean? Simply put, it means it remove the excess material that you don't want or need. In the first part of weeding, you will remove the top layer of vinyl, leaving the letters that you want to place on the container.
For the second part of weeding, use a weeder tool to remove the middle parts of letters. After you have taken all of the middle parts of the letters away, you will be left with the design you want to transfer.
In my example, I left the middle of the script "g" on there. Don't do that! Make sure to take out all of the parts that you don't want on your design.
![]()
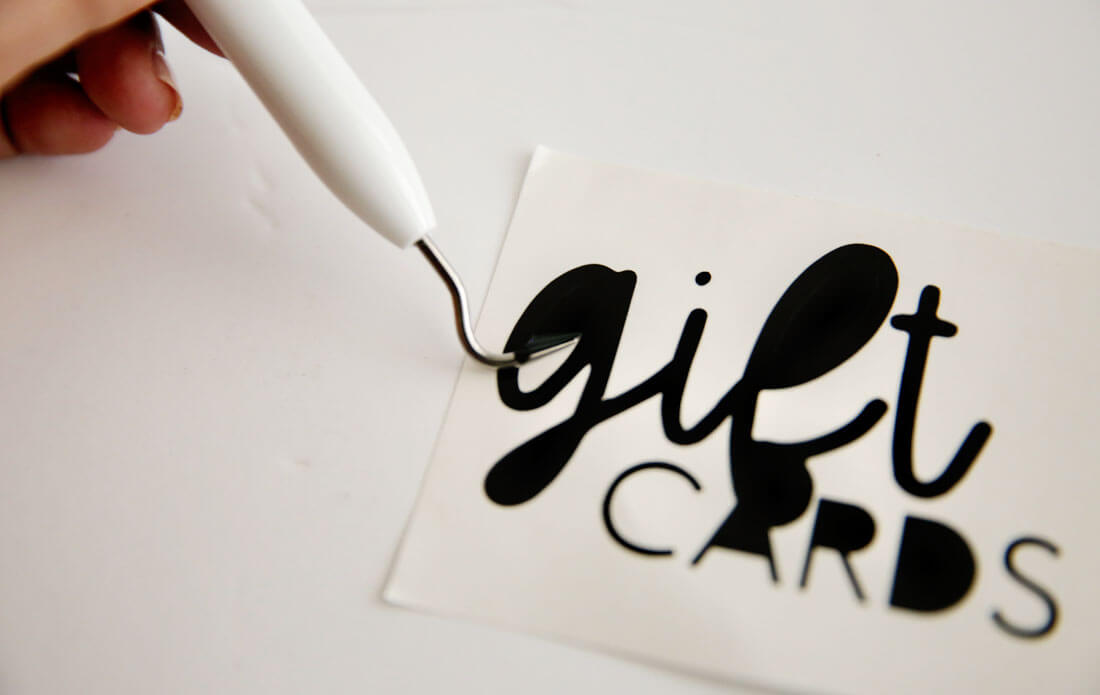
ADD TRANSFER TAPE
Next you will add transfer tape over the top of the design and press down. There are all kinds of transfer tapes but I prefer the kind with a grid on it so it makes it easy to line things up. I'm more of a "eye baller" than a measurer and having grid lines definitely helps with that.
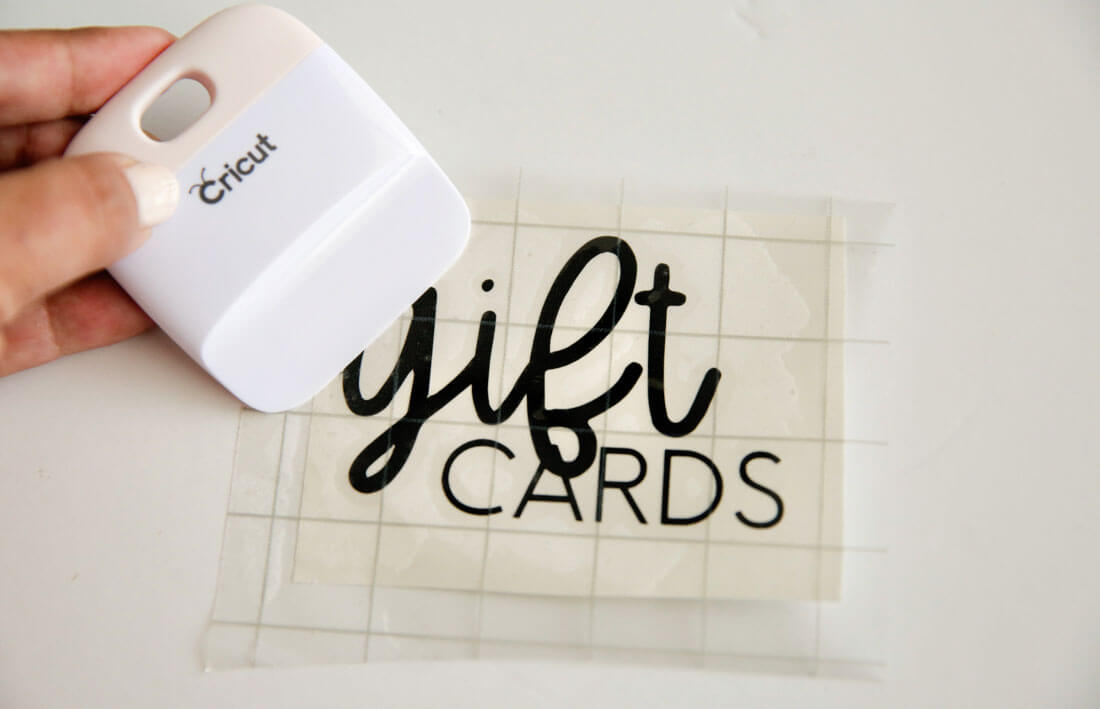
Use the scraper to "burnish" the vinyl. Burnish means to rub it down and smooth it over. If you don't burnish, the design will not stick to the transfer tape and then will not transfer to whatever you are applying it to. Apply pressure and really rub it on to make sure that it transfers well. My scraper is one my most used tools when it comes to using vinyl.
![]()
TRANSFER THE DESIGN
Next, carefully pull the transfer tape up, making sure that all letters are on the transfer tape and not left behind. Sometimes it takes a few times of rubbing with the scraper to make sure of this.
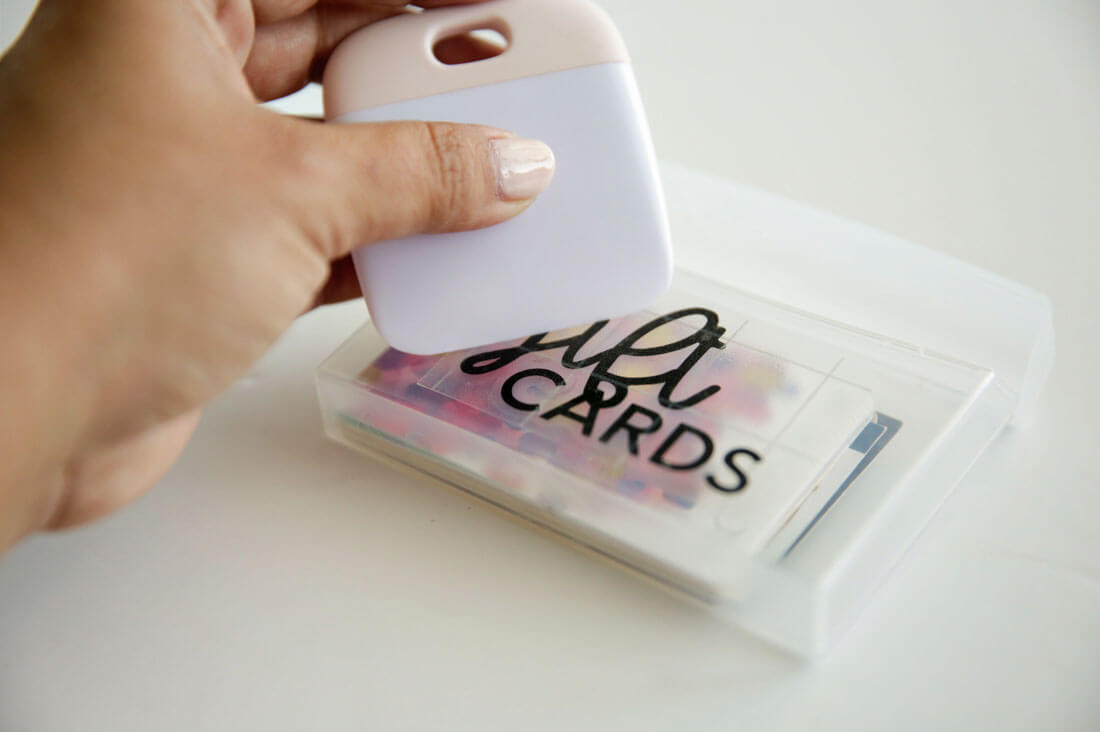
After removing gum from the container (yes it will smell minty fresh!), apply the design to the middle of it, using the grid from the transfer tape as a guideline. Use your scraper to burnish the design onto the container.
![]()
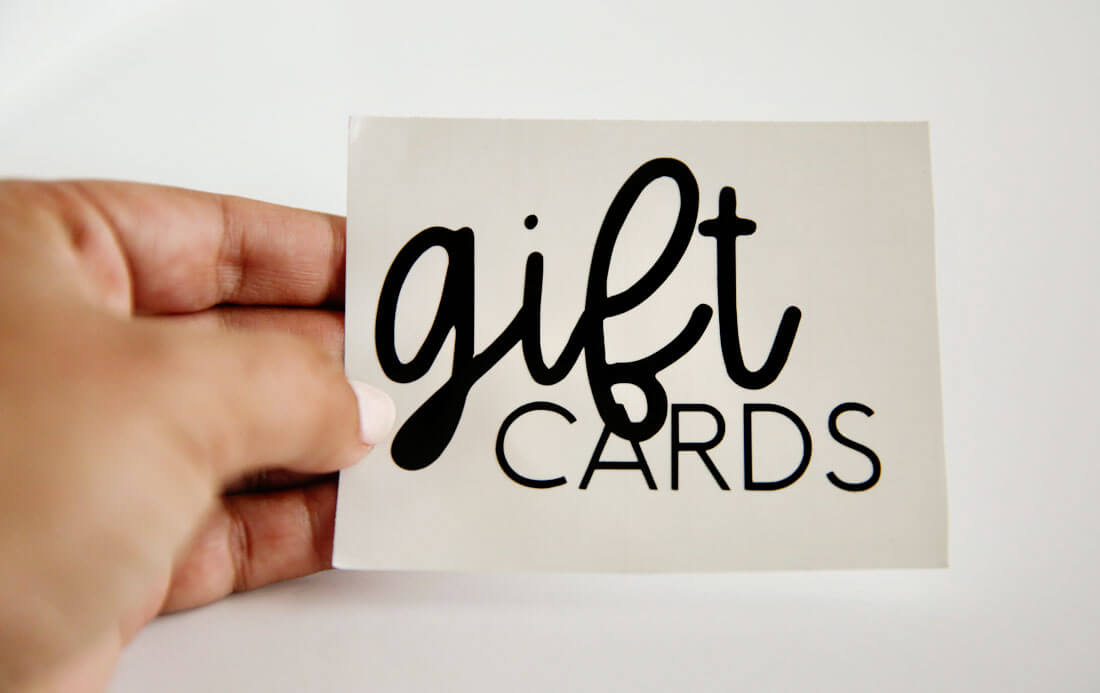
REMOVE TRANSFER TAPE
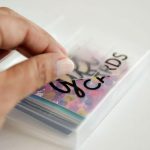
Carefully remove the transfer tape from the top of the design, making sure that the letters remain on the gum container.
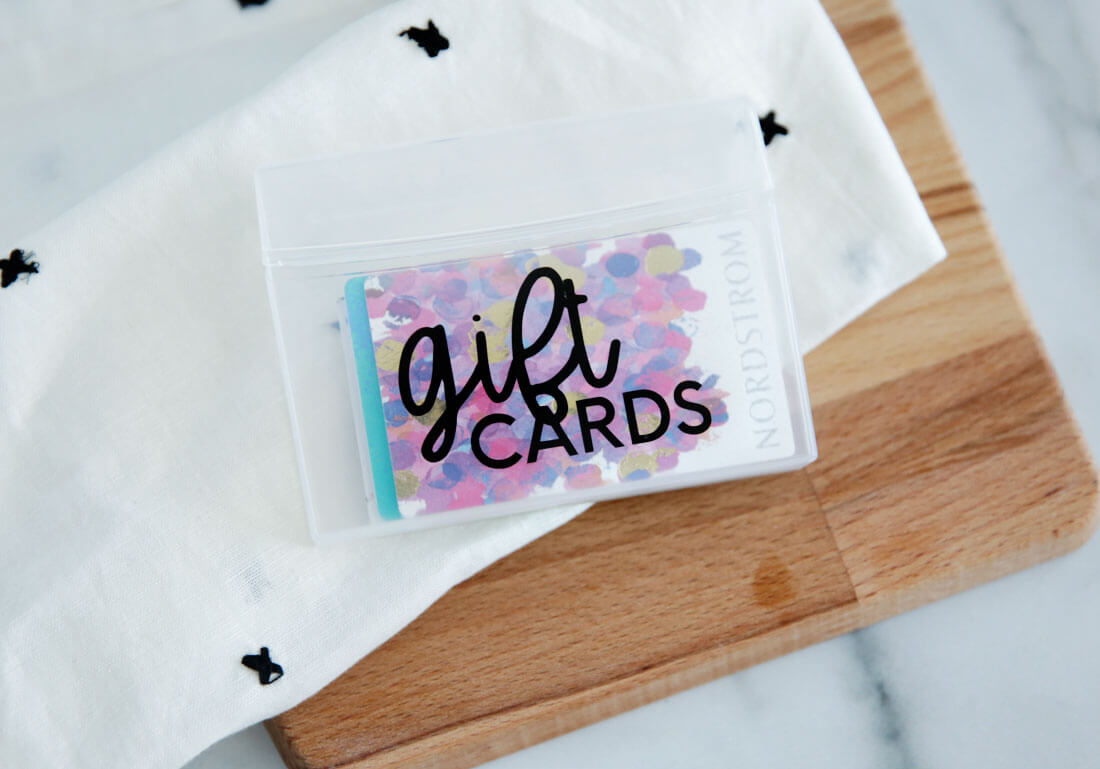
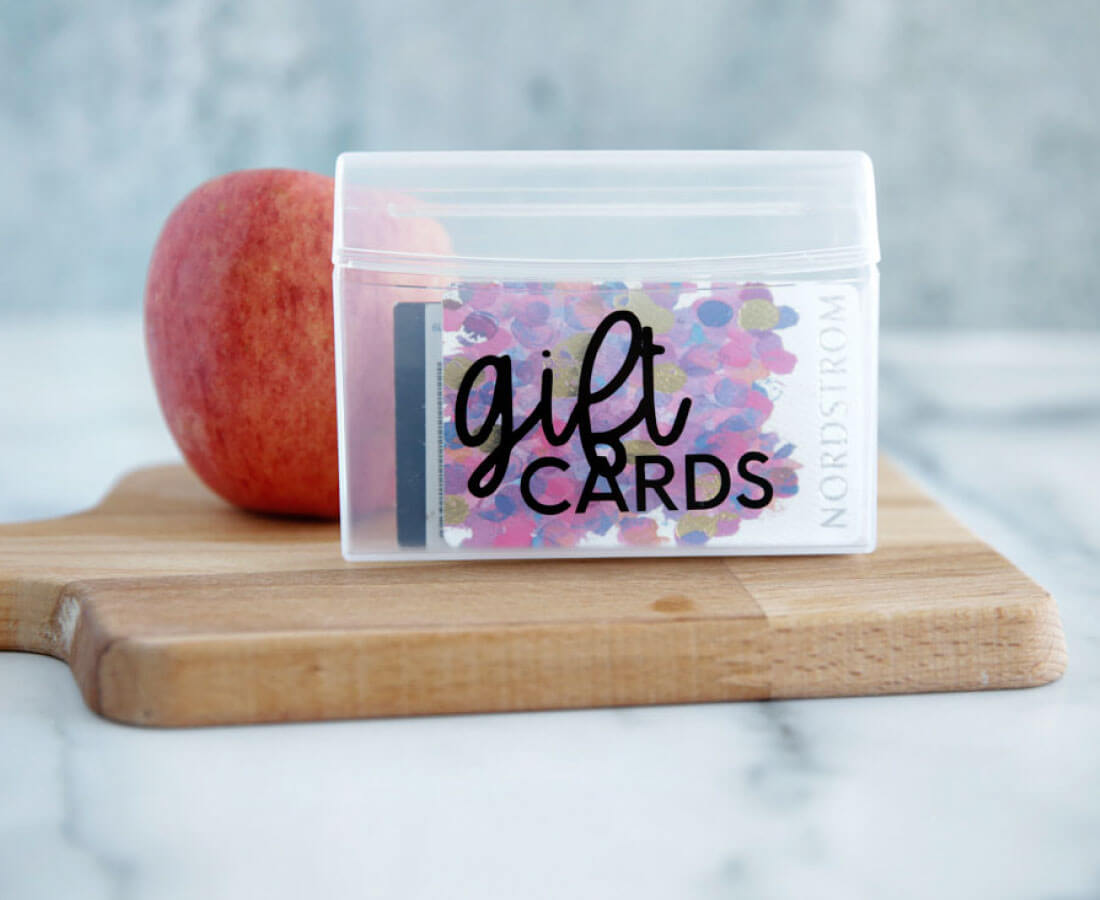
I saw this idea on Instagram to use the gum container as a gift card holder and decided to label it to make it even cuter. It easily slips into my purse and I've been using the gift cards instead of forgetting about them, or them getting lost in my wallet like before.

Not only is this a good idea for you, but would make a great gift idea for the teachers in your life. The one thing they get a lot of (besides anything apple related) is gift cards! Stick a gift card in the container and a note of appreciation for the end of the school year. Teachers will go nuts for this!
Cricut Projects
While I have used my Cricut Machine for all kinds of projects, these are the other labels I have made using my machine:
- Organizer for Your Car Console
- Snacks for Kids
- How to Organize Your Spice Rack
- Organize Kitchen Cabinets
- School Papers and Memorabilia
How To Use Cricut To Make Labels
Source: https://www.thirtyhandmadedays.com/labels-using-cricut-machine/
Posted by: burgeandraideve.blogspot.com
0 Response to "How To Use Cricut To Make Labels"
Post a Comment